PrintDeck
Install PrintDeck from your computer with a guided USB setup. No programming tools or electronics experience required.
Choose your display
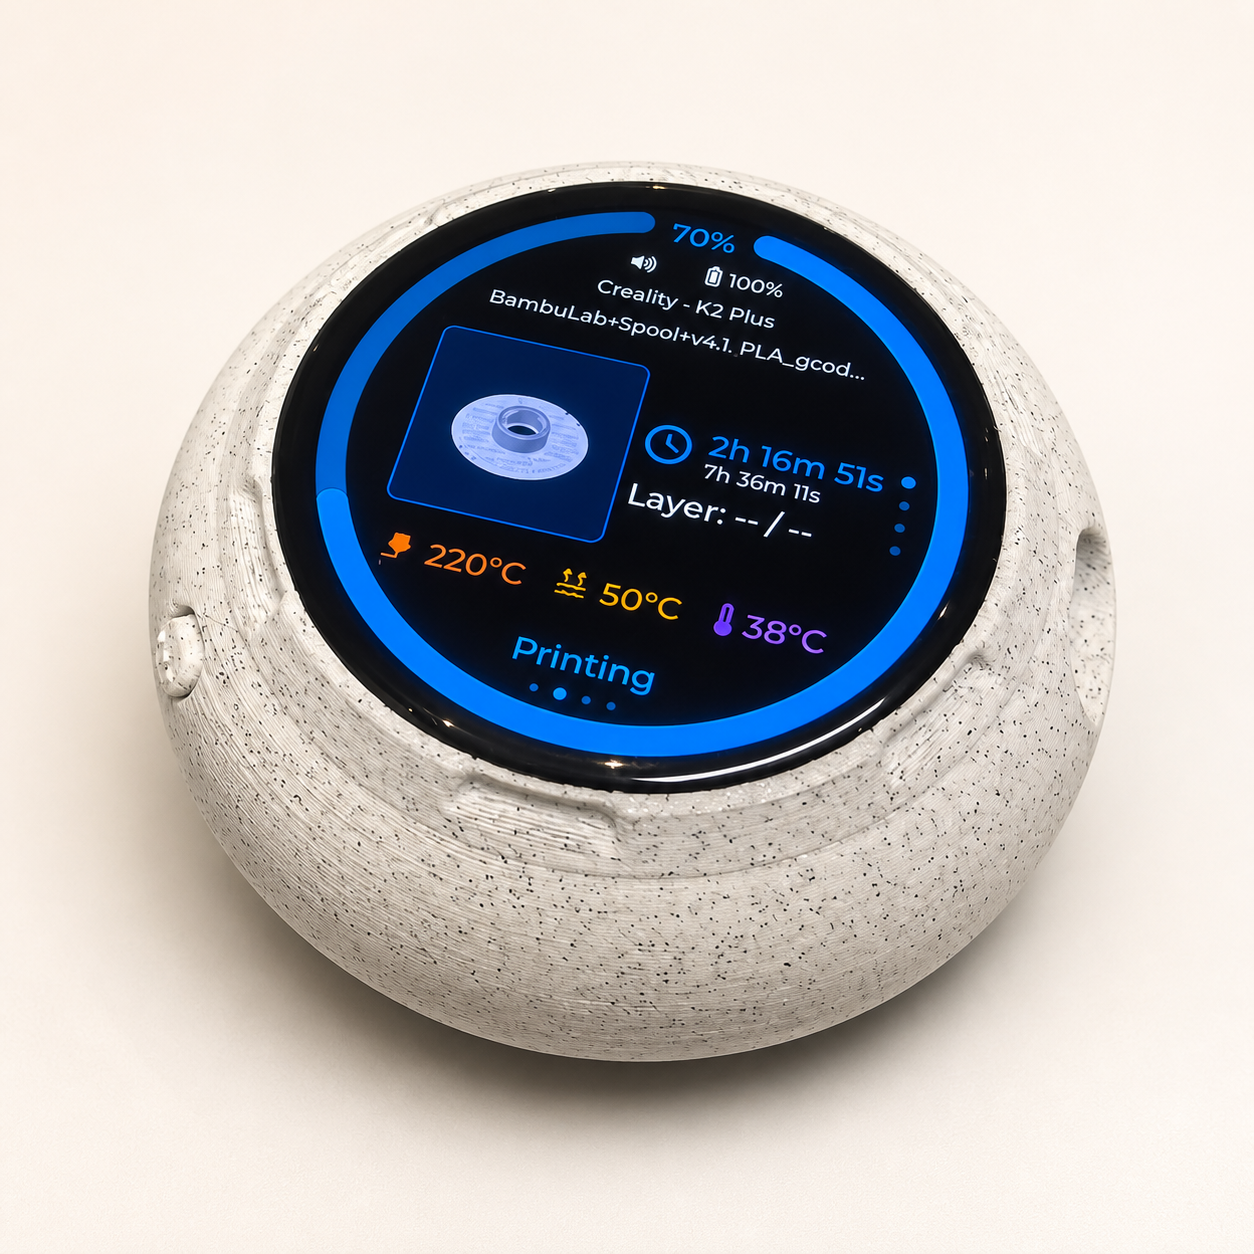
STEP 1 · CHOOSE WHAT YOU WANT TO DO
FIRST INSTALLATION / FACTORY RESET
Prepare and install the monitor
- Get a USB-C data cable. It must transfer data, not only charge devices. The cable supplied with a phone or external drive usually works.
- Connect the screen directly to your computer. Plug the USB-C end into the Waveshare display and the other end into your PC or Mac. Avoid a USB hub for the first installation.
- Start the installer below. Choose the serial device whose name contains ESP32, USB, UART, JTAG or CP210. Confirm the full erase when asked, then wait until installation reaches 100%.
If no device appears: unplug the cable. Hold the display's BOOT button, reconnect USB-C, release BOOT after two seconds and try again.
- Wait for the Wi-Fi setup screen. The display will show a QR code and create a temporary network named
PrintDeck-Setup. - Connect a phone or computer to the monitor. Scan the QR code with your phone's camera, or open the Wi-Fi menu on your PC or Mac and select the open
PrintDeck-Setupnetwork. No password is required. It is normal for the device to say that this network has no internet. - Open the setup page. While still connected to that temporary network, open a browser and enter
http://192.168.4.1in the address bar. - Connect the monitor to your normal Wi-Fi. Use Scan networks, select your network, enter its password and save. Printer details are added separately after Wi-Fi setup.
- Reconnect your phone or computer to its normal Wi-Fi. The monitor restarts on an empty My Printers screen and shows its Web Config address.
- Add your printer from Web Config. Open the address shown on the monitor, add your Klipper or Bambu Lab printer and save the connection.
Factory reset: this option erases all settings stored on the monitor. It does not change anything on your printer or its controller.
FIRMWARE UPDATE
Update without losing your settings
Update a working monitor over USB without erasing saved Wi-Fi, printers, appearance or other configuration. This updater writes the application and boot selection only; the NVS settings partition is never erased.
- Connect the monitor directly to this computer with a USB-C data cable.
- Select the firmware version above. The newest release is selected by default; an older version can be chosen for rollback.
- Start the USB update below. Choose the ESP32, USB, UART, JTAG or CP210 serial device when prompted.
- Wait for the monitor to restart. Do not disconnect USB while the update progress is visible.
Preparing update…
Your configuration stays safe: this path cannot request or perform a full-device erase. If the monitor cannot be updated, use First installation / Factory reset only as a recovery option.
Prefer updating over Wi-Fi?
Open the monitor's local Web Config page, choose Check for updates, then confirm Install update. The Wi-Fi updater also preserves saved settings.
 Google Chrome
 Microsoft Edge